The production process of custom mannequins is very specialized and the designer must have a keen eye for fashion and the market. The mannequin needs to have a very good level of model-making. As well as opening the mold to fix the grudge, etc., each link is not to be ignored.
Extended reading→Mannequins are essential for the development of the fashion industry
This article will introduce the production process of Richenmannequin’s mannequins, including design, R&D, prototyping, mold opening, initial blank production, grudge repair production, quality control, primer, topcoat, final inspection, packaging, and shipping, etc., aiming to gain a deeper understanding of this complex manufacturing process.
Stage 1: Design – R&D
Richenmannequin’s Design-R&D is divided into two types, one is in-house research and development. One is brand customization.
Self-developed mannequins
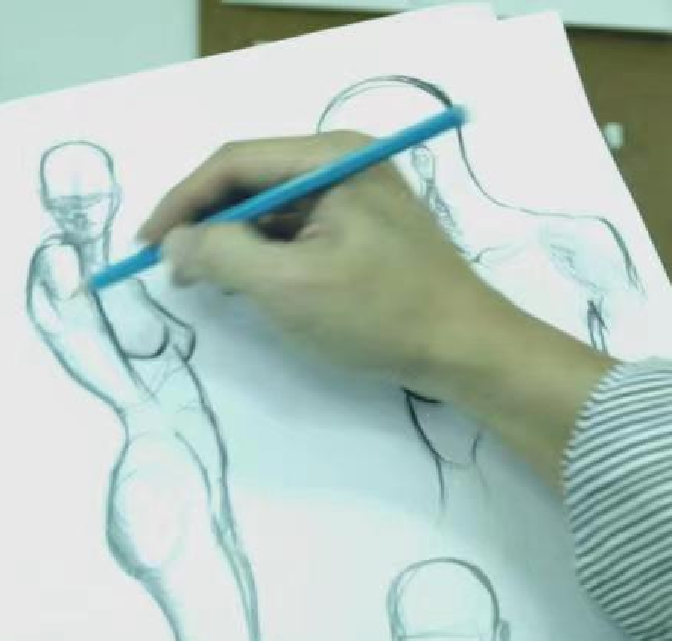
We organize annual foreign trips and weekly research in shopping malls to keep a sharp eye on fashion. After market research and analysis, we will carry out mannequin modelling design according to the fashion trends of clothing brands, and develop and adopt new materials and new techniques to design a richer presentation for the mannequins.
We will launch several new mannequin series to the market every year. The mannequins we design are sought after by many clothing brands every year.
Customized Mannequins
Some brands need to create personalised mannequins to showcase the brand’s story and style.
We conduct research and analysis on the brand, designers create models based on the client’s needs and technical development is carried out to ensure that the structure and materials of the mannequins meet the expected functional and cosmetic requirements.
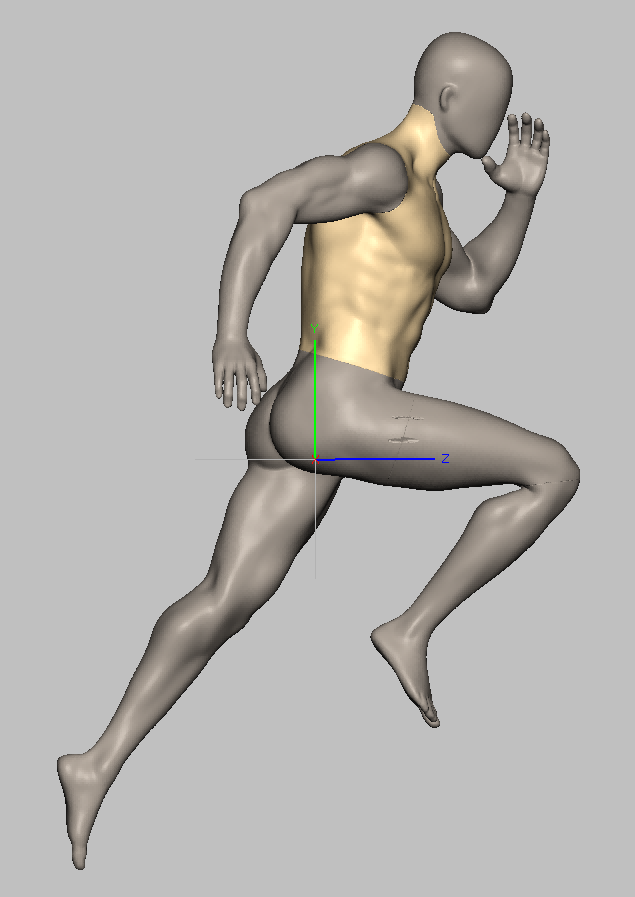
Experienced modellers carry out 3d modelling. Then 3d printing of small samples are carried out to confirm with the customer initially. In this step, the client can suggest changes in modelling.
For more about custom mannequins please read this → Customized clothing mannequins: creating a unique image for your brand
Stage 2: proofing
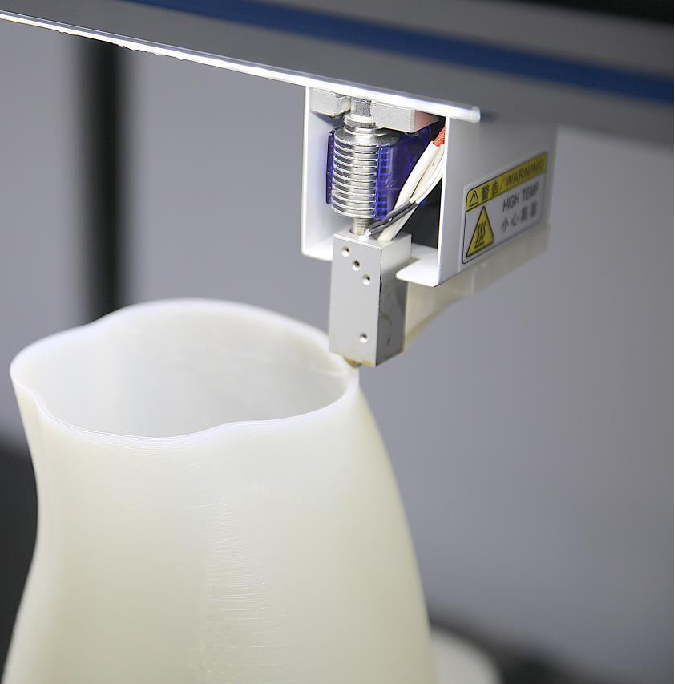
After the confirmation of the small sample stage, we enter the large sample production stage.
We use the confirmed 3d model to make a 1:1 model. 3d printing materials are generally used: polymer foam, PLA wire, photosensitive resin and so on!
The printing strength is related to the wall thickness, generally use 2mm-4mm wall thickness.
This is a critical stage because the quality and accuracy of the sample directly affect the success of the subsequent production.
Stage 3: Moulding
Moulding is the process of transforming the sample into a mould. The manufacturer creates a mould based on the sample and ensures that the mould is capable of reproducing a mannequin that matches the design.
If the demand is greater than 300 units, making steel moulds is not easy to scrap.


Materials:
Fibreglass
Fibreglass is the most widely used material for mannequins. It is an unsaturated resin and fibre, and because of its anti-oxidant and anti-corrosive characteristics, FRP materials can be recycled in some special channels to achieve environmental protection, such as windmill and generator fluids, underground pipelines, oil tankers, yachts, bathtubs, kitchen countertops and so on.
Environmental Resin
It is pressed from biodegradable corn, frangipani and other plant fibres.
Paper mould
It is rarely used for the whole body and is generally used for making body and head moulds.
The disadvantages of paper moulds are that they are easily damaged and become soft when exposed to water.
abs(recycled, chemical properties closest to fibreglass, strong)
Its mould must be steel mould and the cost of steel mould is lower. Generally globalised luxury brands such as LV, Dior, etc. will choose to make steel mould cast abs material.
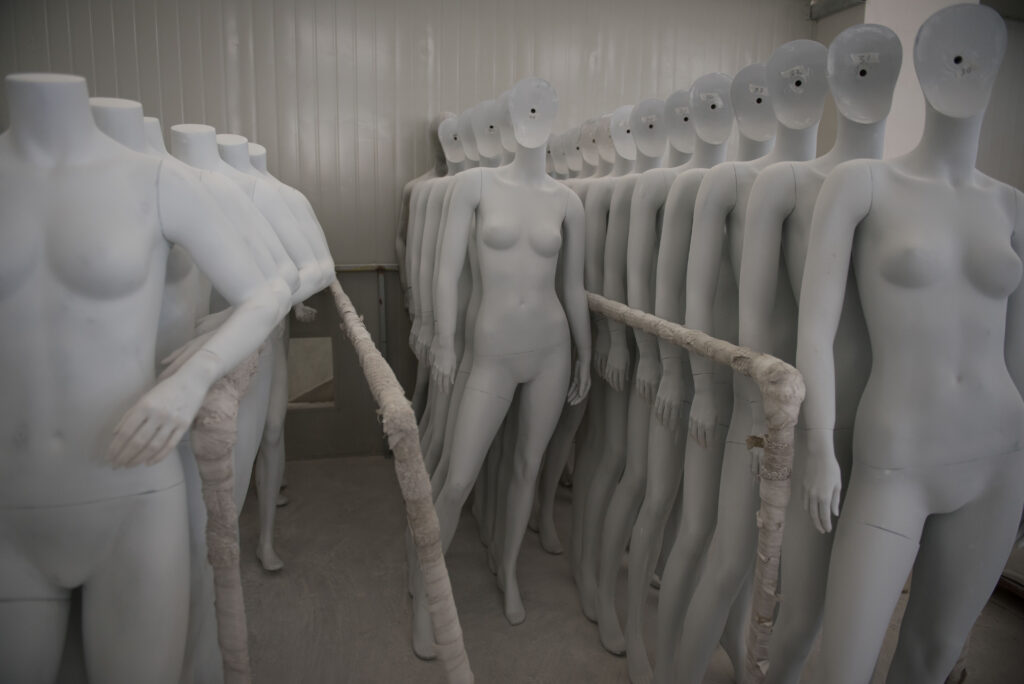
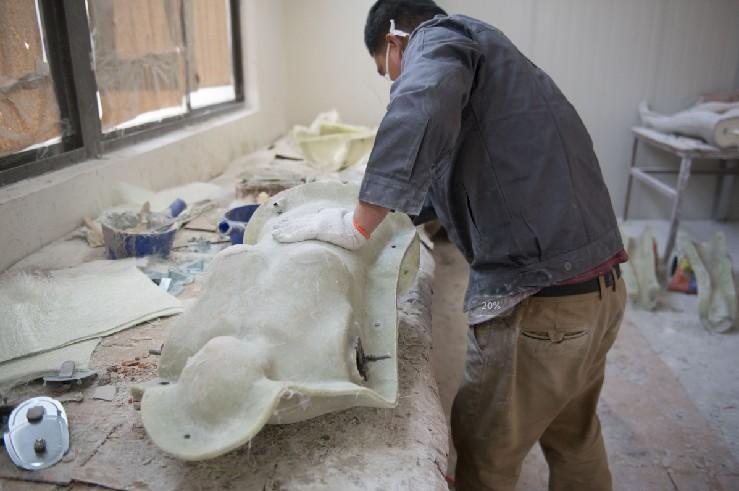
Stage 4: Pre-Production
Primary moulding is the process of injecting the initial shape of the model into the mould. This stage requires a high degree of skill and craftsmanship to ensure the quality and precision of the initial blank.
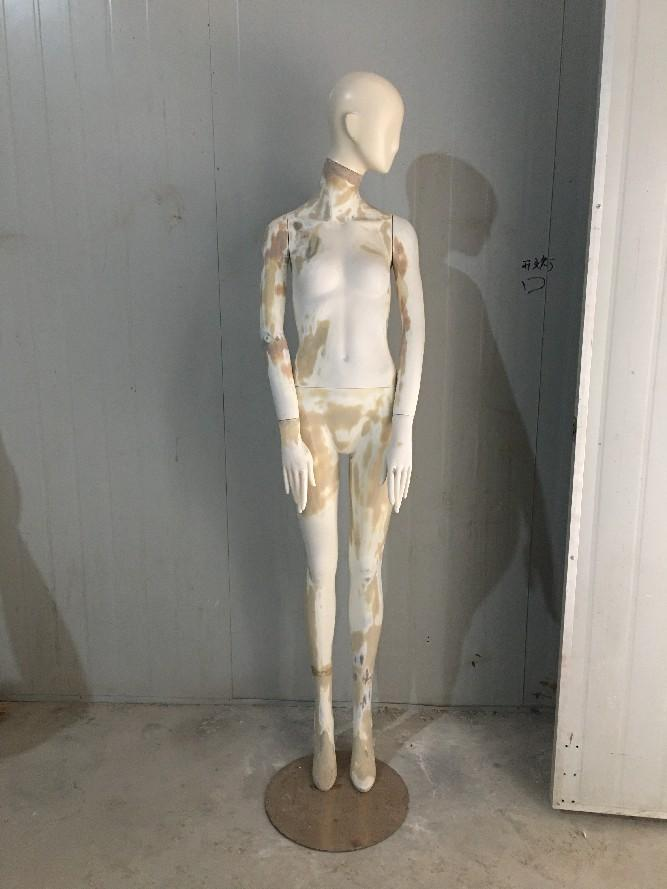
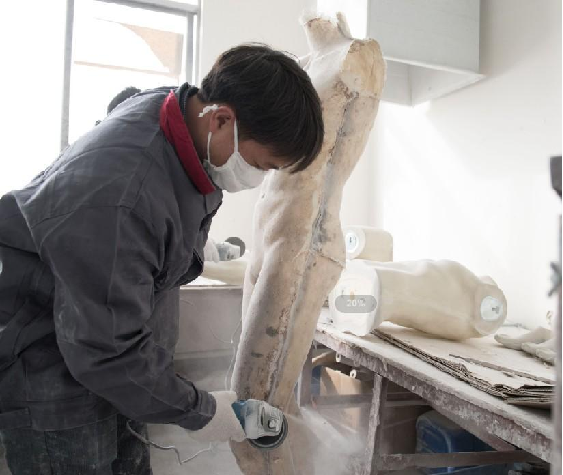
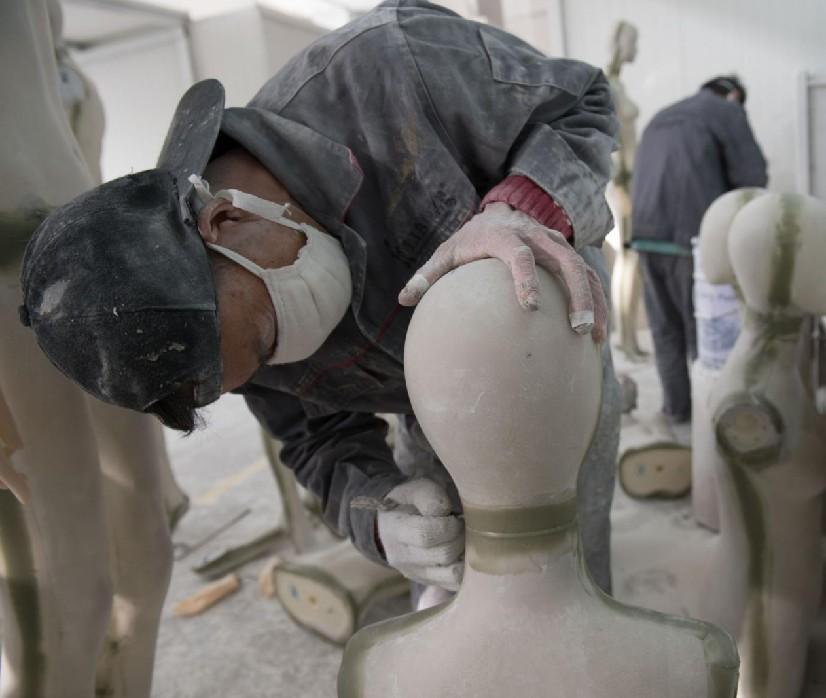
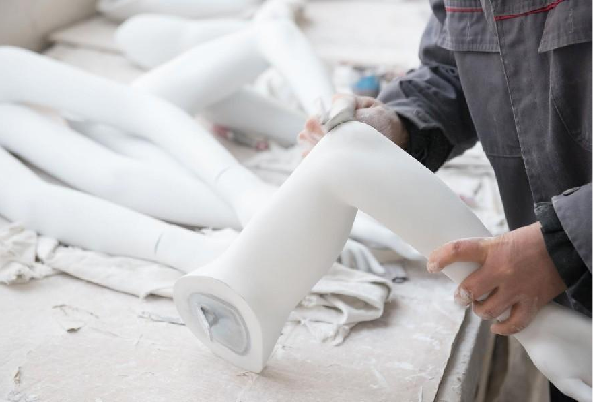
Stage 5: Repairing
After the initial blank is made, the model needs to be further trimmed and processed to ensure the lines and details of the model are more realistic. Our workers will repeatedly sand and polish at this stage.
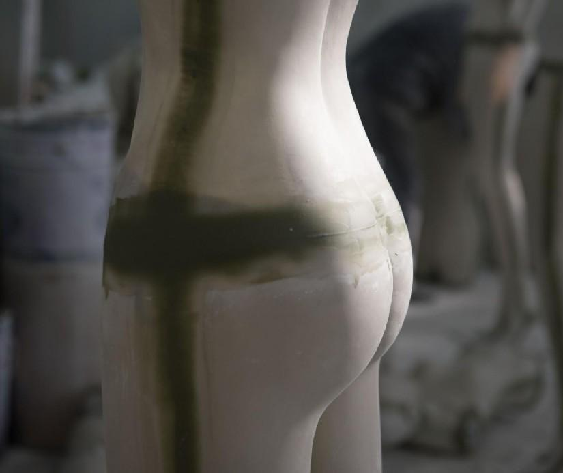
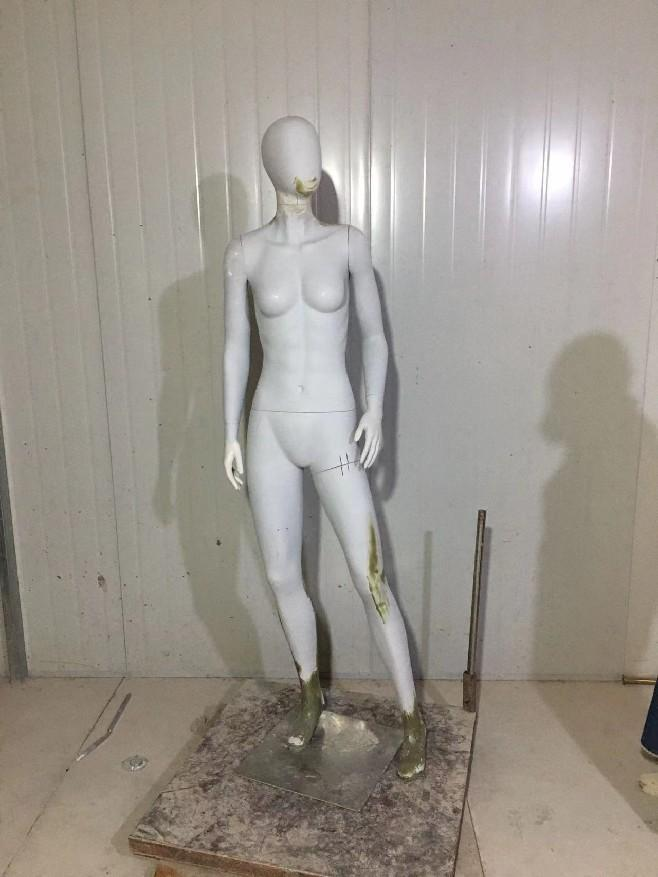
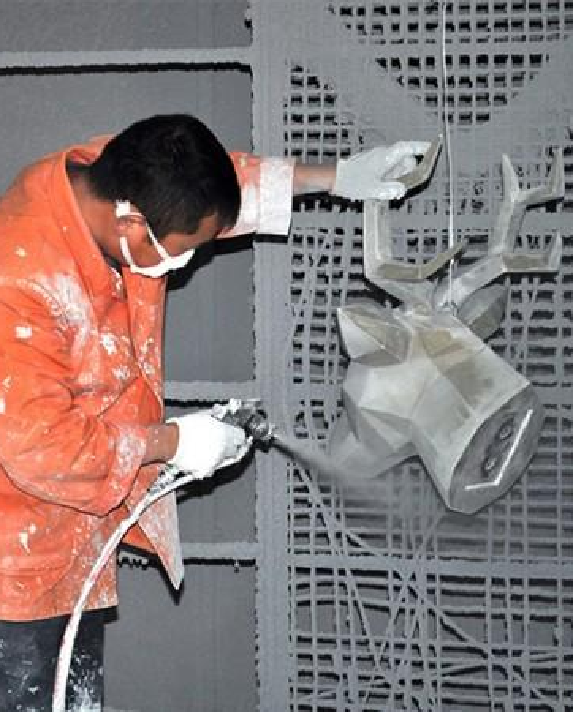
Stage 6: Quality control and primer
After finishing, the model is subjected to a quality check to eliminate any possible imperfections. Subsequently, primer is applied to lay the foundation for the subsequent topcoat.

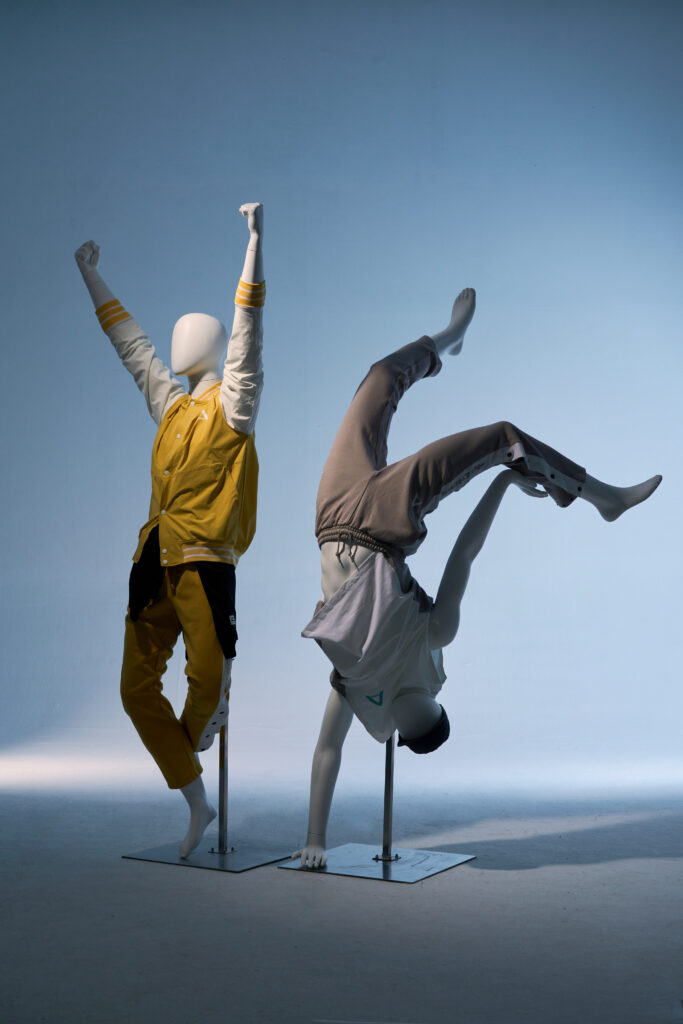
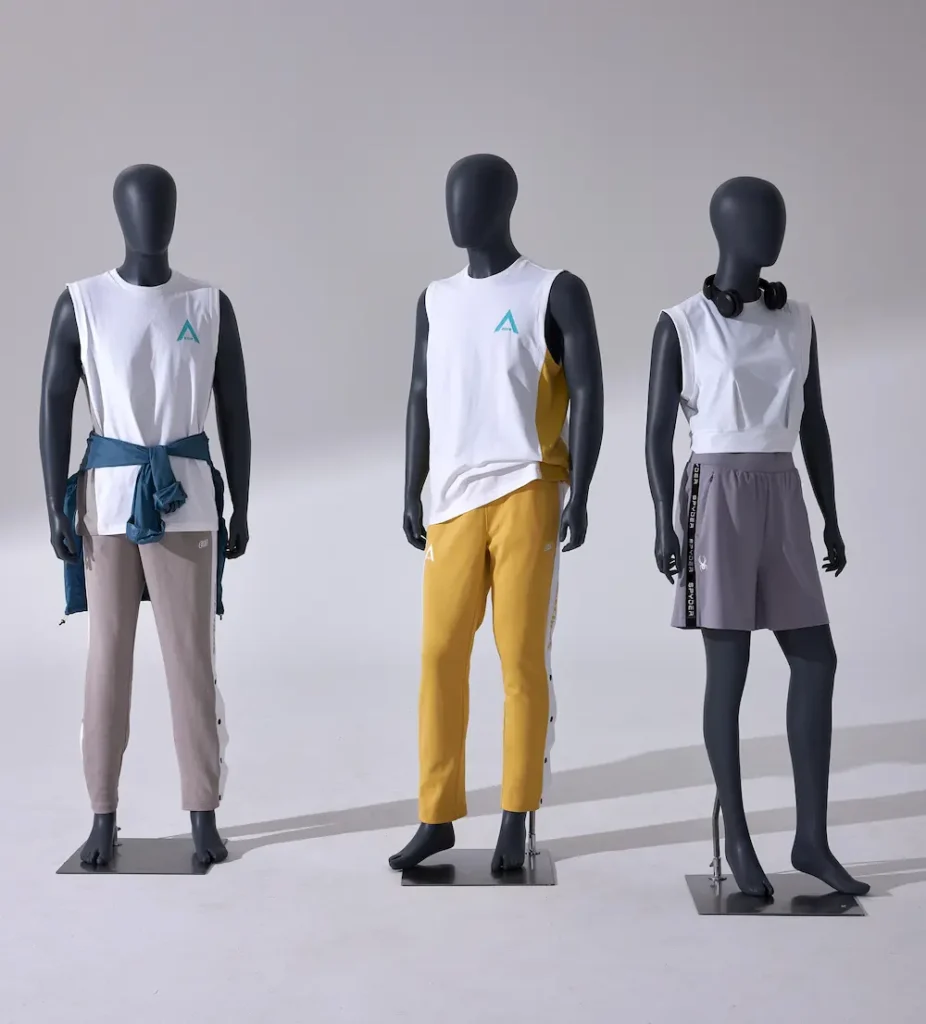
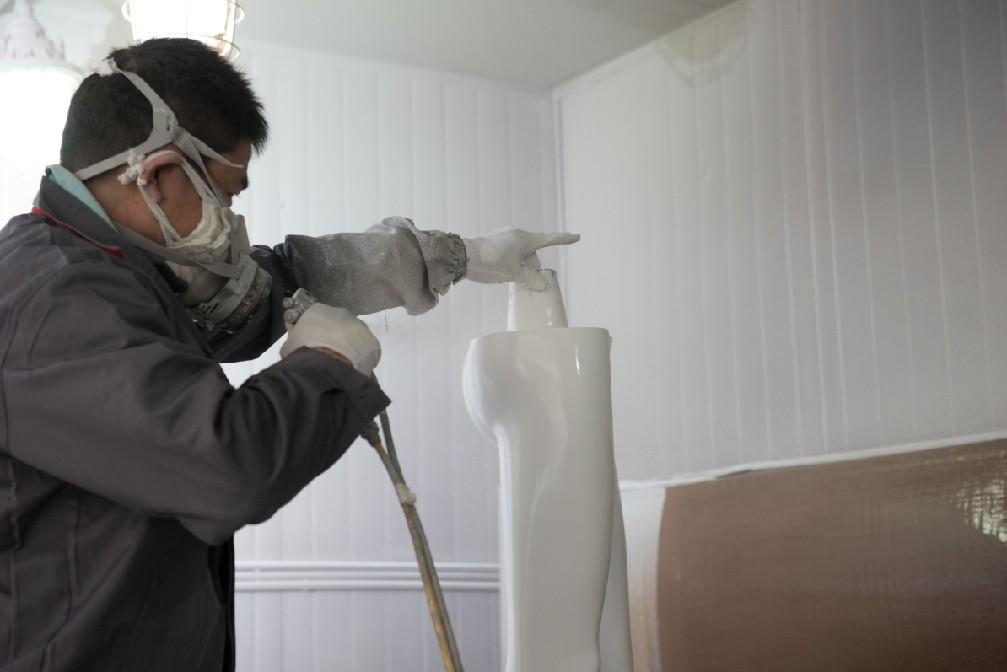
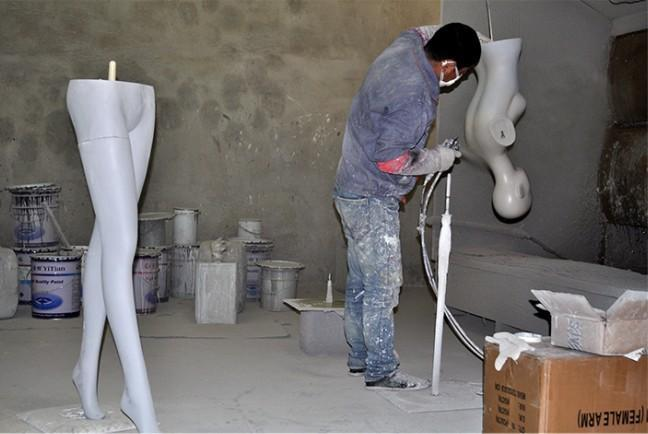
Stage 7: Top Coat
At this stage, the final appearance of the model will be revealed. The manufacturer will paint the model with the appropriate colours and coatings according to the customer’s requirements.
Some special requirements, such as make-up we have professional co-operative artists using oil paints for hand-painting.
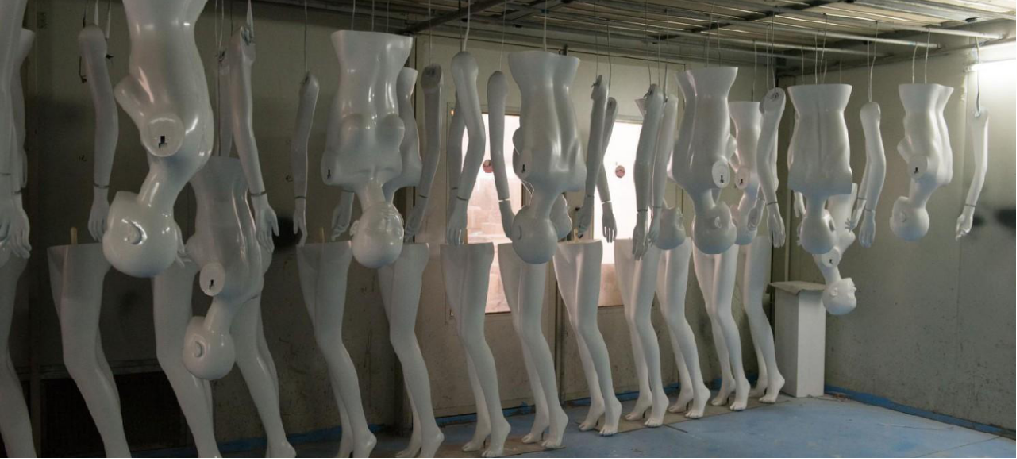
Stage 8: Final Inspection
The final inspection is a comprehensive check of the model. We will scrutinise every detail and conduct a load bearing test on the mannequins. Make sure the mannequins meet the high standard of quality.
Stage 9: Packing and Shipping
After completing the final inspection, the custom mannequins will be packed and ready for shipping.
Each mannequin is customised and packaged to ensure that it is not damaged during transport.
The production process of mannequins is a complex and rigorous one. It requires the close co-operation of a number of professional teams including designers, engineers, technicians and quality inspectors. Through the fine execution of the above stages, the manufacturer is able to provide high-quality and highly customised mannequins to meet the needs of different industries and contribute to the development of the fashion industry.